How to Grow Mushrooms at Home: A Complete Step-by-Step Guide for Beginners
Imagine walking into your kitchen, balcony, or spare room and finding fresh, gourmet mushrooms growing just a few steps away. You do not need a large farm, expensive machinery, or acres of agricultural land to get started.
Quick Guide Takeaway
Unlike tomatoes or herbs, mushrooms are fungi that do not grow from seeds in garden soil. They grow from a network of delicate threads called mycelium colonising a pasteurised substrate (like chopped wheat straw). The entire cycle requires only 3 key elements: high-quality pure mushroom spawn, clean treated straw, and managed humidity (80%–90% RH) with regular fresh air exchange. Follow this guide to harvest your first batch of fresh, homegrown oyster mushrooms in just 25 to 35 days!
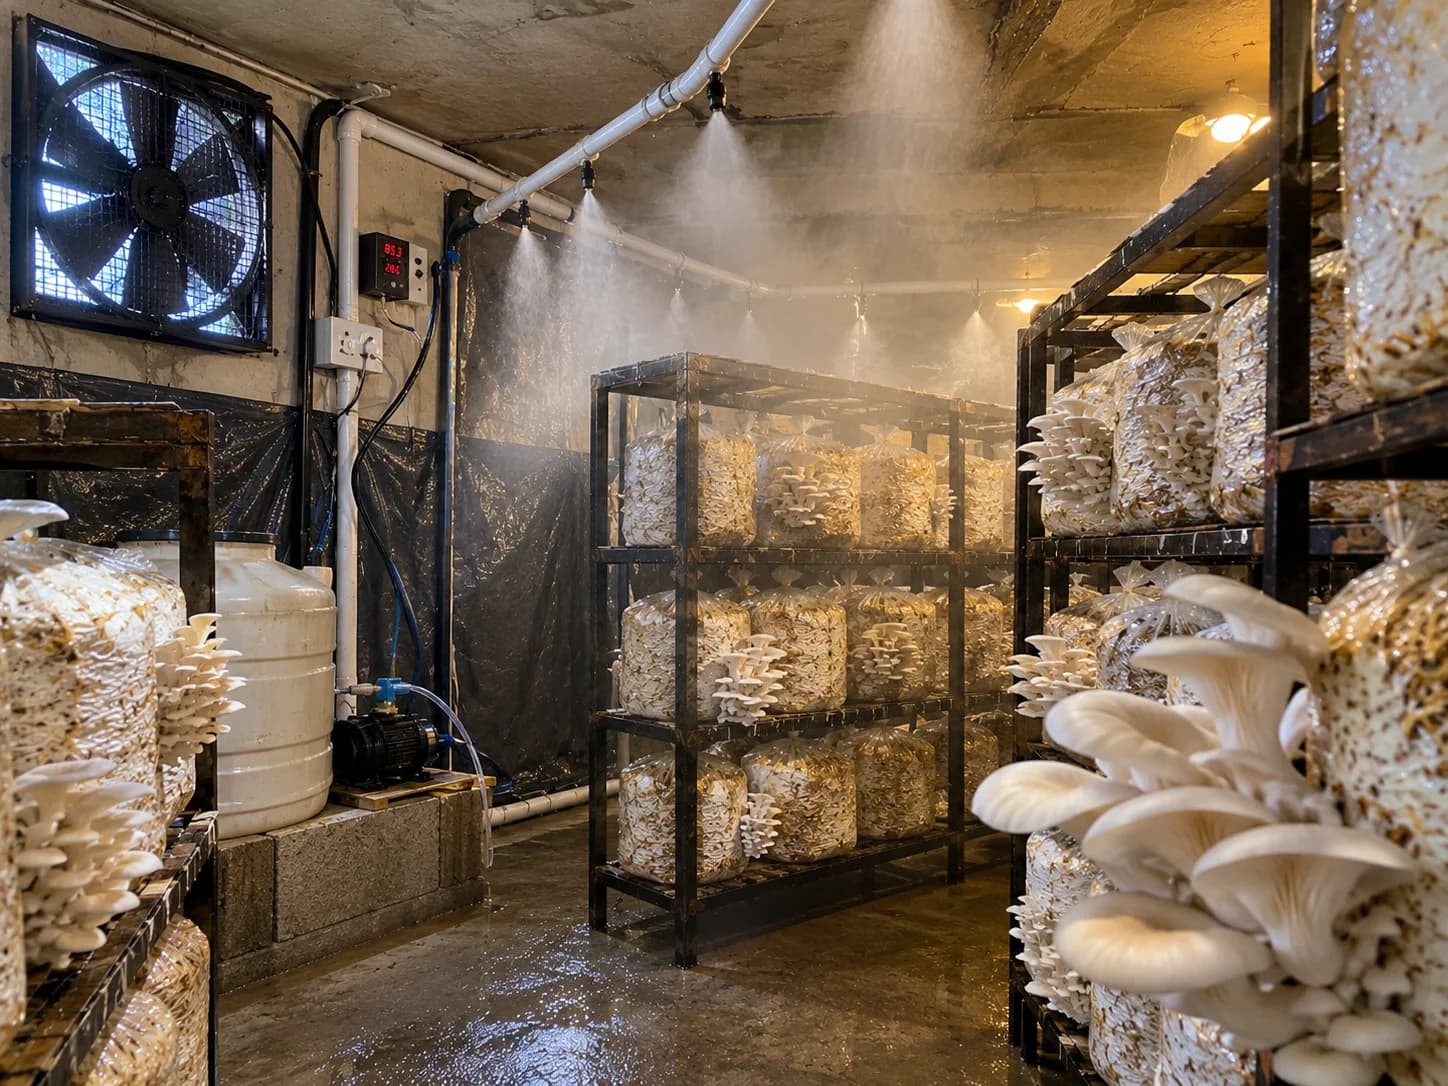
Table of Contents
- Quick Answer: Easiest Way to Grow
- 1. Which Mushroom Is Best for Beginners?
- 2. What Do You Need to Get Started?
- 3. Step-by-Step Cultivation Guide (Steps 1–7)
- 4. Growing at Home Without a Garden
- 5. Humidity Control: Mist Maker vs Fogger
- 6. 7 Critical Mistakes Beginners Make
- 7. Growing Timeline at a Glance
- 8. Turning Home Growing into a Small Business
- Watch: Step-by-Step Video Guide
- 9. Frequently Asked Questions (12 FAQs)
For many beginners, the biggest challenge is not growing the mushrooms themselves. It is understanding what mushrooms actually need to grow.
Unlike tomatoes, coriander, or other familiar garden plants, mushrooms do not require soil and direct sunlight in the same way. They grow from an intricate network of fungal threads called mycelium, which spreads through a suitable growing material (the substrate) and eventually produces the edible fruiting bodies we harvest.
The process becomes remarkably straightforward once you understand the essential terminology: mushroom spawn (the pure fungal seed), substrate (the nutritious plant biomass), colonisation / incubation (the mycelium growth phase), fresh-air exchange (FAE), and fruiting conditions.
Whether you live in an apartment, have a small spare room, or want to explore commercial mushroom cultivation before investing in a full commercial mushroom training program, this comprehensive guide will give you exact, practical steps.
Quick Answer: What Is the Easiest Way to Grow Mushrooms at Home?
For most first-time growers, starting with a ready-to-fruit oyster mushroom growing kit is one of the simplest options. The kit already contains a pre-colonised block of substrate. You open or slit the bag, place it in an appropriate environment, maintain humidity, and harvest fresh clusters in 7 to 10 days.
However, if you want to understand the complete cultivation cycle and learn skills that can scale into a profitable home enterprise, purchasing certified mushroom spawn seeds and preparing your own pasteurised substrate (such as wheat straw) is far more rewarding and cost-effective.
| Growing Method | Best Suited For | Difficulty |
|---|---|---|
| Ready-to-fruit mushroom kit | Beginners who want to start quickly on a kitchen counter | Easy |
| Oyster mushroom grow bag (Straw) | People who want to learn real cultivation from scratch | Easy to Moderate |
| Mushroom bucket method (5-Gallon) | Small home experiments with reusable plastic containers | Easy to Moderate |
| Multiple grow bags in a dedicated room | Hobby growers, homesteaders, and small local producers | Moderate |
| Controlled mushroom growing room | Commercial producers planning year-round batch production | Moderate to Advanced |
1Which Mushroom Is Best to Grow at Home?
Before buying equipment, decide on your species. Different mushrooms have radically different environmental tolerances, nutritional requirements, and incubation cycles. If you want a deep dive on how species compare, explore our Button Mushroom vs Oyster Mushroom comparison guide.
Oyster Mushrooms (Pleurotus spp.)
The Gold Standard for Beginners
Oyster mushrooms are fast colonisers, fiercely competitive against contaminating molds, and tolerant of wide temperature variations (20°C–28°C for Grey and Florida Oyster, 24°C–32°C for Pink Oyster).
- Grows vigorously on simple pasteurised wheat or paddy straw
- Requires no expensive casing layer or compost prep
- High biological efficiency (up to 80%–100% fresh yield per kg dry straw)
- First harvest in just 25 to 30 days
Button Mushrooms (Agaricus bisporus)
A Much Different, Advanced Process
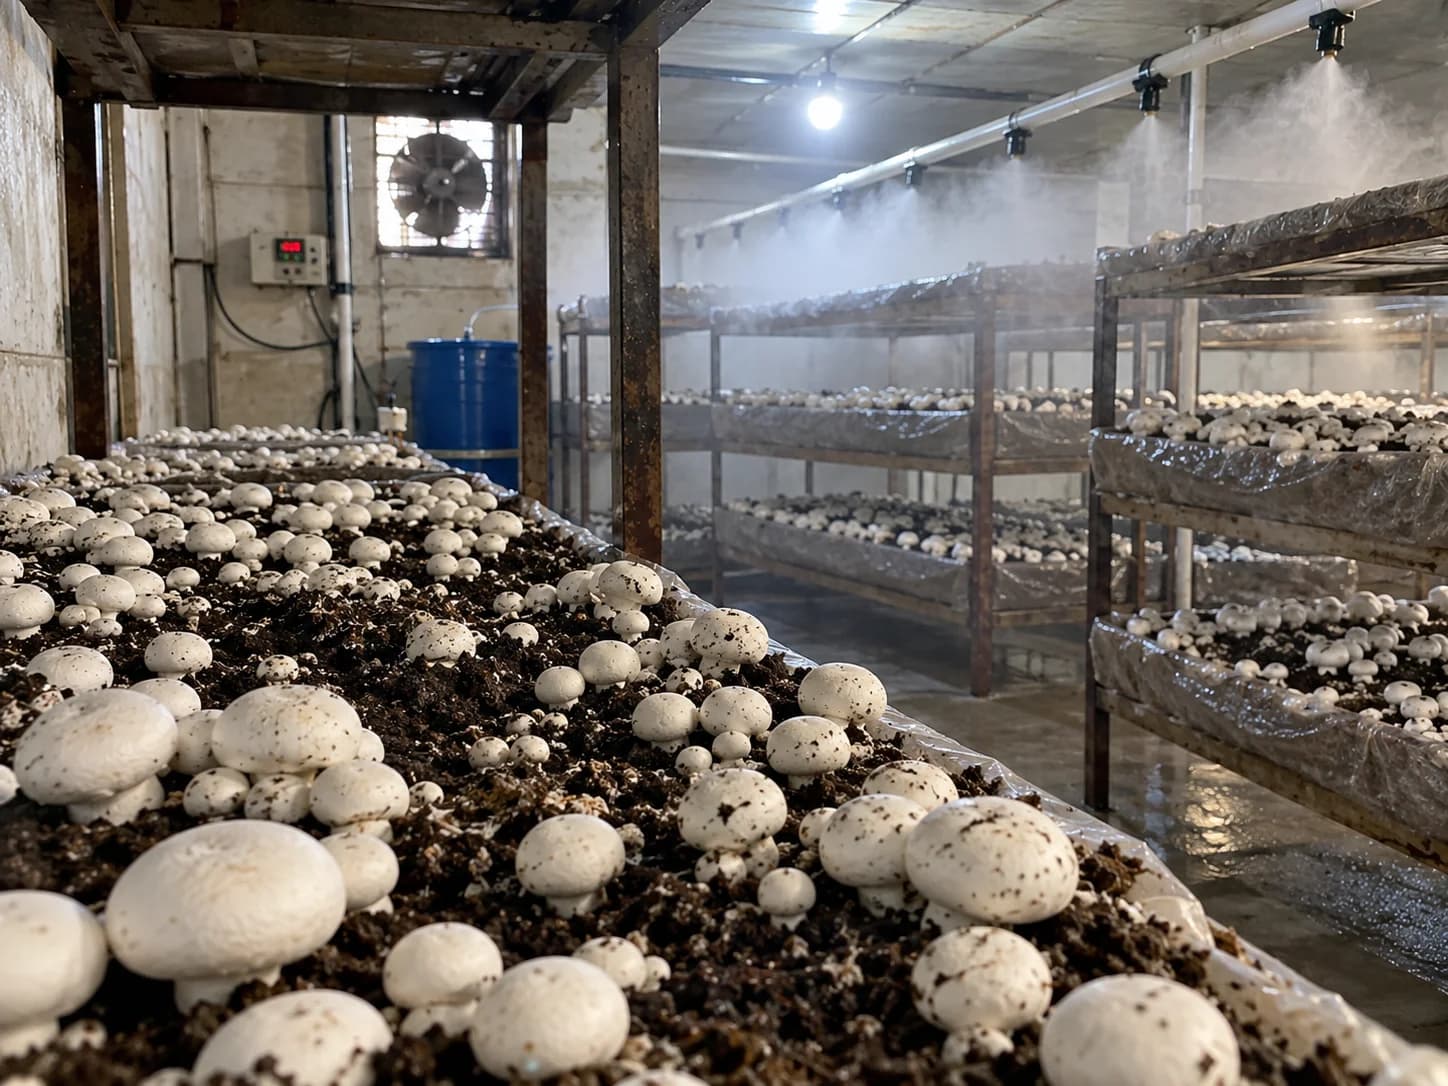
While button mushrooms are kitchen staples, they are secondary decomposers that do not grow on fresh straw alone.
- •Requires carefully fermented & pasteurised synthetic compost (28-day composting cycle)
- •Demands pasteurised casing soil (peat moss or decomposed coir pith)
- •Strict low-temperature control (14°C–18°C during fruiting, requiring a chiller cooling system in warm seasons)
- •Best reserved for dedicated commercial facilities or winter seasonal setups
2What Do You Need to Grow Mushrooms at Home?
You do not need industrial machinery. Here is your complete home grower equipment inventory. If you need supplies, check out our mushroom farming equipment & tools catalogue:
1. Pure Mushroom Spawn
Grain spawn (sorghum, wheat, or millet grains colonised by verified mycelium). Buy fresh, pure white spawn from a reputable lab like Organic Mushroom Farm Spawn Store.
2. Clean Wheat / Paddy Straw
Clean, golden-yellow wheat straw chopped into 2–3 inch pieces. Must be free from chemical pesticides, green mold, or rot.
3. Polypropylene (PP) Bags
Breathable or micro-perforated food-grade PP bags (typical size: 12x18 inches or 14x24 inches). Alternately, food-grade 5-gallon drilled buckets.
4. Water Mister / Spray Bottle
A pressure sprayer or spray bottle that produces an ultra-fine mist. (Or an automated ultrasonic mist maker for 10+ bags).
5. Digital Thermo-Hygrometer
A reliable gauge to monitor relative humidity (RH) and ambient temperature in real time. Never guess humidity!
6. Sanitation Essentials
70% Isopropyl alcohol (IPA) spray, clean rubber gloves, clean tarpaulin/table surface, and clean scissors or cutter.
3Step-by-Step Guide: How to Grow Oyster Mushrooms at Home
Follow this time-tested 7-step standard operating procedure (SOP) to ensure high contamination resistance and abundant mushroom flushes.
Choose and Prepare the Substrate
Wheat straw or paddy straw is the most dependable home substrate. Chop the dry straw into small pieces of 2 to 3 inches (5–7 cm). Why? Chopping breaks open the protective waxy outer coating of the straw, increases surface area, improves water absorption, and allows the mycelium to colonise the block up to 40% faster.
Treat the Substrate (Pasteurisation)
Raw agricultural straw is covered in billions of wild mold spores and bacteria. If you add spawn to untreated straw, aggressive mold will outcompete your mushroom mycelium.
Hot Water Pasteurisation Method: Place the chopped straw inside a clean burlap sack or mesh bag. Submerge it in a drum or large pot of water heated to 65°C to 75°C (150°F–165°F) for 60 to 90 minutes. Do not boil vigorously (over 80°C kills beneficial thermophilic microflora that protect against mold).
Check Moisture Levels: The "Squeeze Test"
Mushrooms require about 65% to 70% substrate moisture. You do not need expensive lab meters to check this:
- Perfect: Only 1 or 2 small drops of water seep out between your knuckles, and your palm feels moist.
- Too Wet: A stream of water trickles out. Drain the straw longer on a clean rack!
- Too Dry: No drops appear and straw feels scratchy. Moisten with a clean spray.
Spawning (Inoculation) & Bag Packing
Wash your hands thoroughly and sanitize them with 70% alcohol. Use 2% to 5% spawn ratio (by wet substrate weight). For a 2.5 kg wet straw bag, use approximately 50 to 100 grams of grain spawn from our lab-tested spawn supply.
Two Inoculation Methods:
- Layering Method: Place 3–4 inches of straw in the bag, sprinkle a handful of crumbled spawn around the perimeter, pack down firmly, and repeat 3 to 4 times, finishing with a layer of straw.
- Homogeneous Mixing Method: Mix spawn and straw evenly on a disinfected tarpaulin before packing into the bag. (Provides faster colonisation).
Compress the bag moderately to eliminate large air pockets, tie the top securely with rubber bands or cotton thread, and punch 10 to 15 small pinholes around the bag using a sterilised needle or fork for respiration.
Incubation (The Colonisation Stage)
Place your inoculated bags in a clean, dark or dimly lit room with good insulation. Maintain a temperature between 22°C and 26°C (72°F–78°F).
During the next 15 to 21 days, the delicate white mycelium will spread rapidly through the straw. Do not open the bags, and avoid excessive handling. By day 18–20, the entire straw block will transform into a dense, solid, bright-white block with a pleasant, fresh forest-mushroom scent.
Inducing Fruiting (Pinhead Formation)
Once the block is 100% white, move it into fruiting mode:
- Cut Openings: Using a clean razor blade, make 3 to 5 small "X" cuts (about 2 inches long) on the sides of the bag where mushrooms will emerge.
- Introduce Light: Provide indirect ambient room light (12 hours daily). Do not expose to direct harsh sunlight.
- Increase Humidity: Maintain 80% to 90% Relative Humidity using misting or an automated humidifier.
- Fresh Air Exchange (FAE): Provide gentle ventilation. Fanning the room 2–3 times a day or running a low exhaust fan removes heavy CO2.
Within 3 to 5 days, tiny clusters of baby pinheads (primordia) will appear at the cut openings.
Harvesting Your Homegrown Mushrooms
Oyster mushrooms grow astonishingly fast once pins form — often doubling in size every 24 hours! They will be ready to harvest in 4 to 6 days after pinhead appearance.
When to harvest: Harvest when the outer edges of the mushroom caps are still slightly curled downward or just beginning to flatten. If the caps curl upward and begin dumping powdery white spores, you have waited slightly too long.
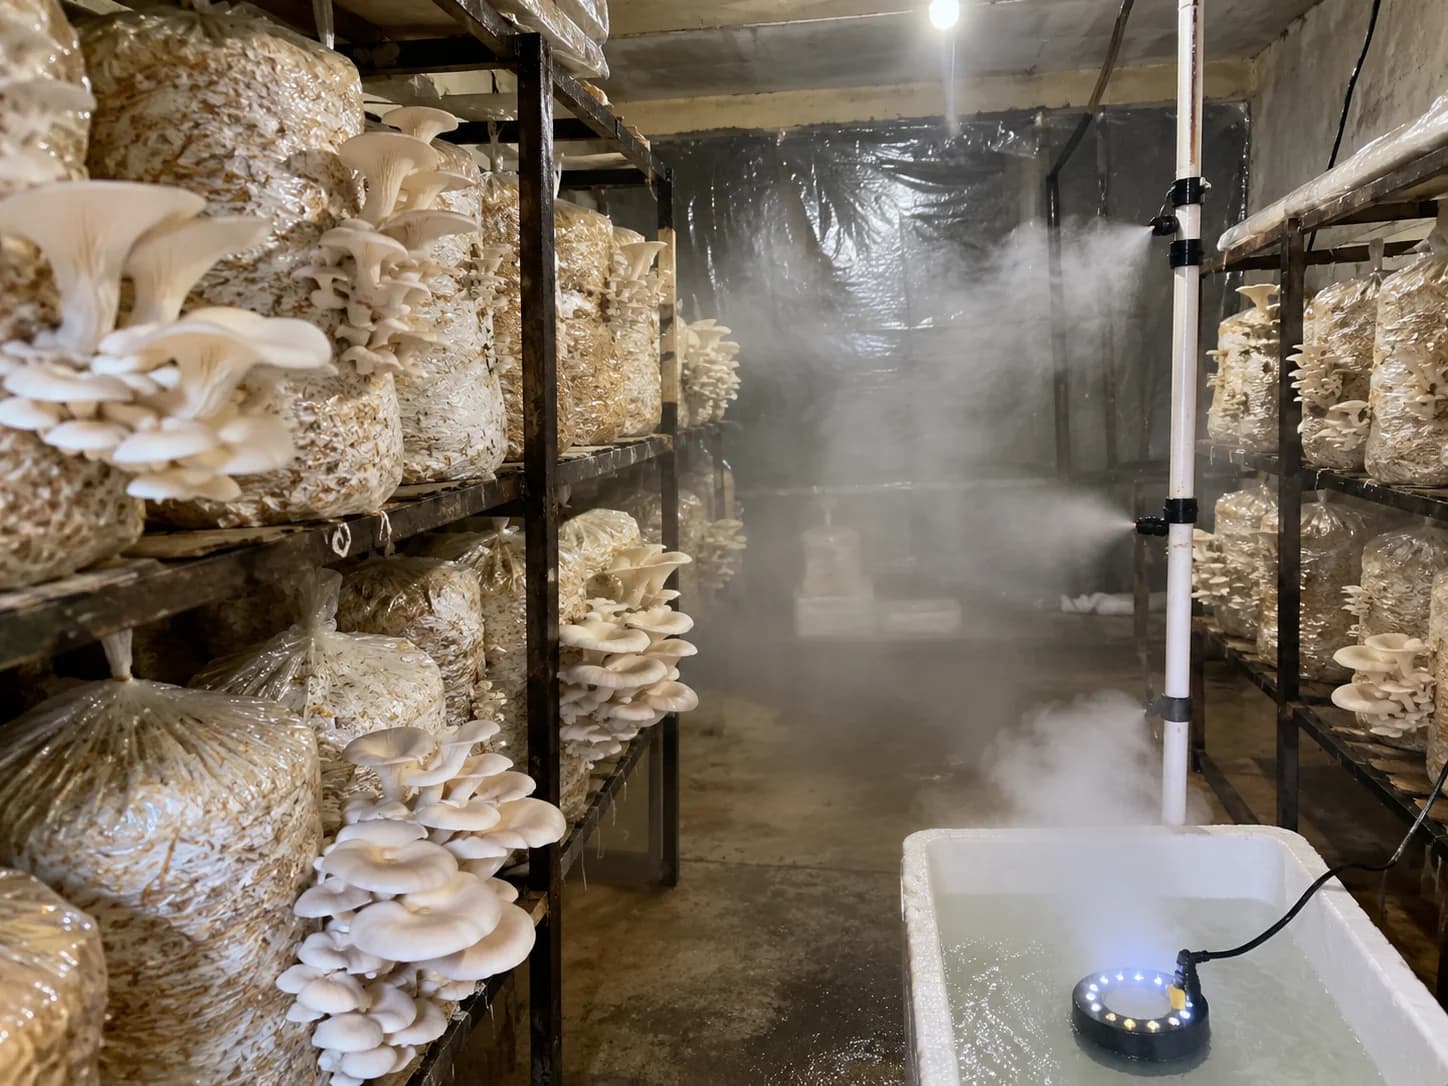
How to harvest: Grasp the entire cluster firmly at its base, twist gently, and pull free from the bag. Or cut cleanly at the substrate surface with a sharp knife. Clean off any remaining loose bits from the cut opening. Continue misting, and a second flush will emerge in 7 to 10 days!
4Can You Grow Mushrooms at Home Without a Garden?
Yes — Mushrooms Are the Ultimate Indoor Crop
Traditional vegetables require fertile soil, extensive garden beds, and 6+ hours of intense direct sunshine. Mushrooms, on the other hand, grow in vertical volume rather than horizontal land area.
Apartment Balconies
A shaded balcony corner with a mini plastic greenhouse rack or burlap curtain maintains natural airflow and excellent humidity.
Spare Rooms & Closets
Any unused 6x6 ft room with a small intake/exhaust fan and a fogger unit can comfortably host 50+ productive bags on metal racks.
5How to Maintain Humidity for Indoor Mushrooms
Mushroom fruiting bodies are 90% water. When indoor air drops below 75% relative humidity, the delicate edges of young pins dry out and abort within hours. However, simply pouring water or spraying coarse heavy droplets onto mushroom caps causes bacterial blotch and rot.
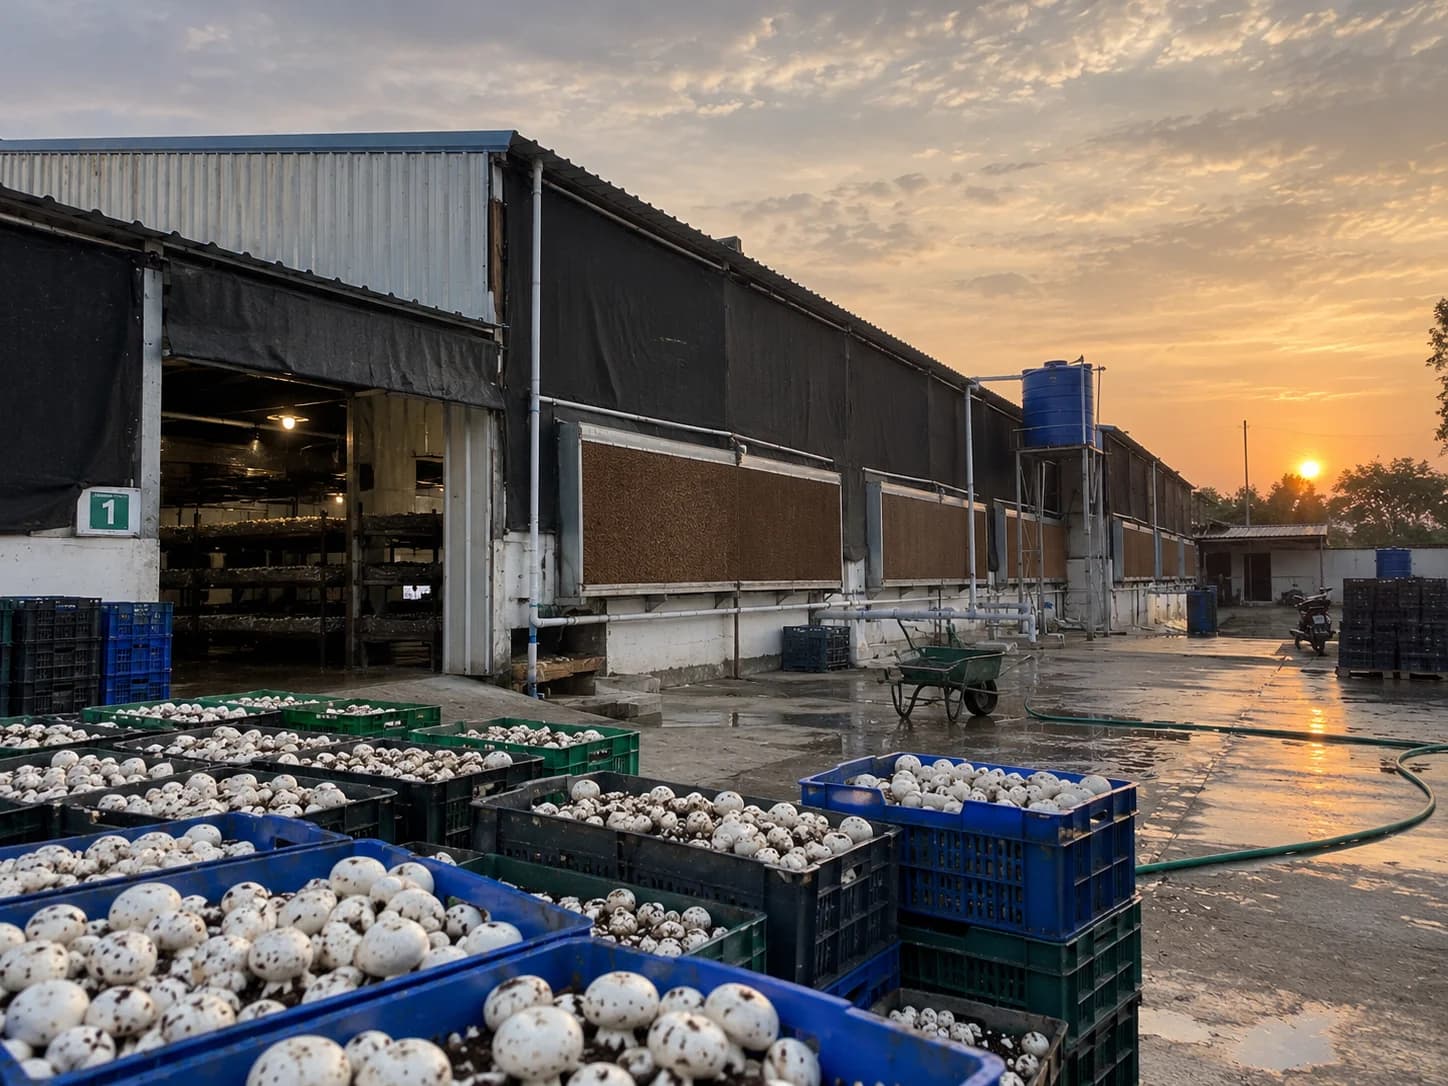
Humidity Systems Compared: Manual Spraying vs Mist Maker vs Fogger
| Method | Scale | Droplet Size | Pros & Cons |
|---|---|---|---|
| Hand Spray Bottle / Pressure Mister | 1 to 5 Grow Bags | 50–100 microns (coarse) | Zero investment, but requires constant manual spraying 3–4 times daily. High risk of water puddling. |
| Ultrasonic Mist Maker (1 to 10 Head) | 10 to 150 Bags (Grow Tent) | 1–5 microns (ultra-fine cold mist) | Floats in air without wetting floors. Completely silent, 100% automatable with digital humidity controller. Learn more in our mist maker DIY setup guide. |
| High-Pressure 4-Way Fogger System | 200+ Bags (Commercial Room) | 15–30 microns (fine fog) | Covers large commercial rooms instantly. Check our complete automatic fogger setup guide. |
67 Common Mistakes Beginners Make (and How to Avoid Them)
Making the substrate too wet (Soggy Straw)
Excess water suffocates the mycelium and creates anaerobic conditions where sour rot bacteria thrive. Always drain straw until only 1–2 drops come out during the squeeze test.
Inoculating warm straw (Heat Shock Death)
Live fungal mycelium dies above 32°C (90°F). Never rush spawning. Let the pasteurised straw cool completely to below 28°C before mixing spawn.
Inadequate fresh air exchange (Long Leggy Stems)
Carbon dioxide builds up at floor level. In high CO2 environments, oyster mushrooms produce elongated rubbery stems with tiny, deformed caps. Ensure constant air exchange.
Allowing pinheads to dry out (Pin Abortion)
Baby pins have zero protective skin. If room humidity drops to 60% for even 6 hours, pins shrivel, turn yellow-brown, and die. Maintain minimum 80% RH.
Using old, unverified, or expired spawn
Spawn that has sat warm on a shelf for months has exhausted its nutritional reserves. Always purchase first-generation, pure grain spawn from certified breeders via our mushroom spawn catalogue.
Poor hygiene and dirty workstations
Touching spawn with unwashed hands or placing straw on an unsanitised floor introduces green mold (Trichoderma). Clean all surfaces with 70% alcohol.
Waiting too long to harvest (Over-Maturity & Spores)
Over-mature mushrooms turn brittle, drop massive spore clouds, and lose their tender culinary texture. Harvest as soon as the cap edges begin to straighten out.
7Mushroom Growing Timeline at a Glance
| Timeline | Cultivation Phase | Key Actions & Targets |
|---|---|---|
| Day 1 | Preparation & Spawning | Chop straw, pasteurise at 65°C–75°C, cool below 28°C, mix 3% spawn, pack bags tightly, perforate with pinholes. |
| Days 2 to 20 | Spawn Run (Incubation) | Keep in clean, dark space at 22°C–26°C. Mycelium colonises entire straw block until dense and chalk-white. |
| Days 21 to 24 | Fruiting Induction (Pinning) | Cut X-slits in bag, expose to indirect light, boost humidity to 85%–90% RH, and introduce gentle fresh airflow. Pinheads emerge. |
| Days 25 to 30 | First Flush Harvest | Mushrooms expand rapidly. Harvest full clusters when edges straighten. Enjoy fresh! |
| Days 31 to 45 | Second & Third Flushes | Continue misting. A second flush of mushrooms emerges 7–10 days later, followed by a smaller third flush. |
8Can Growing Mushrooms at Home Turn into a Small Business?
Growing mushrooms is one of the few high-value agricultural enterprises that can begin as a micro-experiment at home and scale seamlessly into a commercial enterprise. If you want to know how growers monetize their production, read our practical guide on how to sell oyster mushrooms to restaurants and mandis.
High Local Demand
Fresh gourmet oyster mushrooms sell for ₹150–₹250/kg to local restaurants, organic grocery stores, and health-conscious subscribers.
Vertical Scalability
Start with 10–20 bags. Once you master environmental control, scale to 100–300 bags in a 150 sq ft room producing 200–400 kg monthly.
Low Capital Expenditure
Unlike button mushrooms requiring chillers and heavy boilers, oyster mushrooms can be run with modest climate control and minimal equipment.
How to Grow Mushrooms at Home: Watch the Quick Video Guide
Watch this step-by-step practical demonstration showing healthy mycelium colonisation, proper bag slitting, fine-mist humidity maintenance, and rapid mushroom fruiting at home.
Frequently Asked Questions (FAQs)
Expert answers to the 12 most common questions asked by beginner mushroom growers.
Q1.Can I grow mushrooms from fresh supermarket mushrooms?
While it is biologically possible to clone fresh supermarket mushroom tissue onto agar plates in a sterile laboratory, beginners should always start with certified, pure laboratory-prepared mushroom spawn or ready-to-fruit kits. Supermarket mushrooms lose vitality quickly and carry high microbial contamination risk that ruins unsterilised home substrates.
Q2.How much space do I need to grow mushrooms at home?
You need surprisingly little space. A single 5-shelf wire or plastic rack measuring just 3 ft wide by 1.5 ft deep can comfortably hold 10 to 15 oyster mushroom grow bags, yielding 8 to 15 kg of fresh mushrooms over multiple flushes. A small spare corner, balcony shelf, or bathroom corner is plenty.
Q3.Do mushrooms need complete darkness to grow?
No! This is one of the most common myths. While spawn run (incubation) happens in darkness or low dim light, the fruiting stage requires indirect ambient light (around 500–1000 lux, similar to reading a book comfortably) to trigger healthy pinhead formation, proper cap pigmentation, and normal stem structure.
Q4.How long does it take to grow mushrooms from spawn to harvest?
Oyster mushrooms typically take 25 to 35 days from initial spawning to your very first fresh harvest. The incubation/colonisation period takes 15 to 21 days, pinhead formation takes 3 to 5 days, and cap development to harvest maturity takes an additional 4 to 6 days.
Q5.Why are my mushroom stems long and thin with tiny caps?
Long, leggy stems with tiny stunted caps are the classic symptom of insufficient Fresh Air Exchange (FAE) and carbon dioxide (CO2) buildup. Mushrooms inhale oxygen and exhale CO2. In stagnant air, CO2 sinks around the fruiting bag, causing the mushrooms to stretch upward looking for oxygen. Increase ventilation and air circulation immediately.
Q6.Can I use ordinary garden soil to grow oyster mushrooms?
No. Mushrooms are saprophytic fungi, not autotrophic plants. They lack chlorophyll and cannot produce food through photosynthesis or pull nutrients from mineral garden soil. They decompose lignin, cellulose, and hemicellulose in carbon-rich organic plant biomass such as pasteurised wheat straw, paddy straw, sawdust, or cottonseed hulls.
Q7.How many times can a single mushroom grow bag produce?
A healthy oyster mushroom grow bag usually yields 2 to 3 successive flushes (harvest waves) over a 30 to 45-day window. The first flush is always the heaviest (about 50% to 60% of total yield), followed by a moderate second flush 7 to 10 days later, and a smaller third flush.
Q8.Is it safe to grow mushrooms inside a bedroom or living area?
Growing 1 or 2 small countertop kits is completely harmless. However, growing multiple bags inside a closed bedroom where you sleep is not recommended because mature mushroom caps release millions of microscopic airborne spores that can trigger respiratory allergies or coughing. Keep your growing chamber in a dedicated, well-ventilated room, balcony enclosure, or grow tent.
Q9.What is the best humidity level for growing oyster mushrooms?
During the fruiting phase, relative humidity (RH) must be maintained between 80% and 90%. If humidity drops below 75%, fragile baby pinheads will dry out, turn brown, and abort. If humidity stays at 100% with stagnant water on the caps, bacterial blotch rot will develop.
Q10.Why did green or black mold appear on my mushroom block?
Green mold (usually Trichoderma harzianum) or black mold indicates fungal contamination caused by insufficiently pasteurised substrate, excessively wet straw (over 70% moisture), poor sanitation when spawning, or compromised spawn. Once a block turns noticeably green, remove it immediately from your growing area to prevent spores from infecting other bags.
Q11.Do I need an ultrasonic mist maker or fogger to start?
For 1 to 3 hobby bags, a simple manual hand spray bottle misted 2 to 3 times daily is sufficient. However, if you are growing 10 to 50+ bags in a spare room or mini grow tent, an automatic ultrasonic mist maker or 4-way nozzle fogger paired with a digital humidity controller saves hours of manual work and prevents pinhead abortion.
Q12.Where can I buy reliable mushroom spawn and equipment?
Always purchase pure, freshly cultured spawn from certified commercial mushroom breeding laboratories such as Organic Mushroom Farm. We provide 100% lab-tested oyster and button mushroom spawn, polypropylene grow bags, digital hygrometers, automated ultrasonic mist makers, and hands-on cultivation training.
Ready to Start Growing Fresh Mushrooms?
Order laboratory-certified high-yield oyster & button mushroom spawn, automated mist systems, or join our hands-on commercial cultivation training program.
Recommended Cultivation & Setup Guides
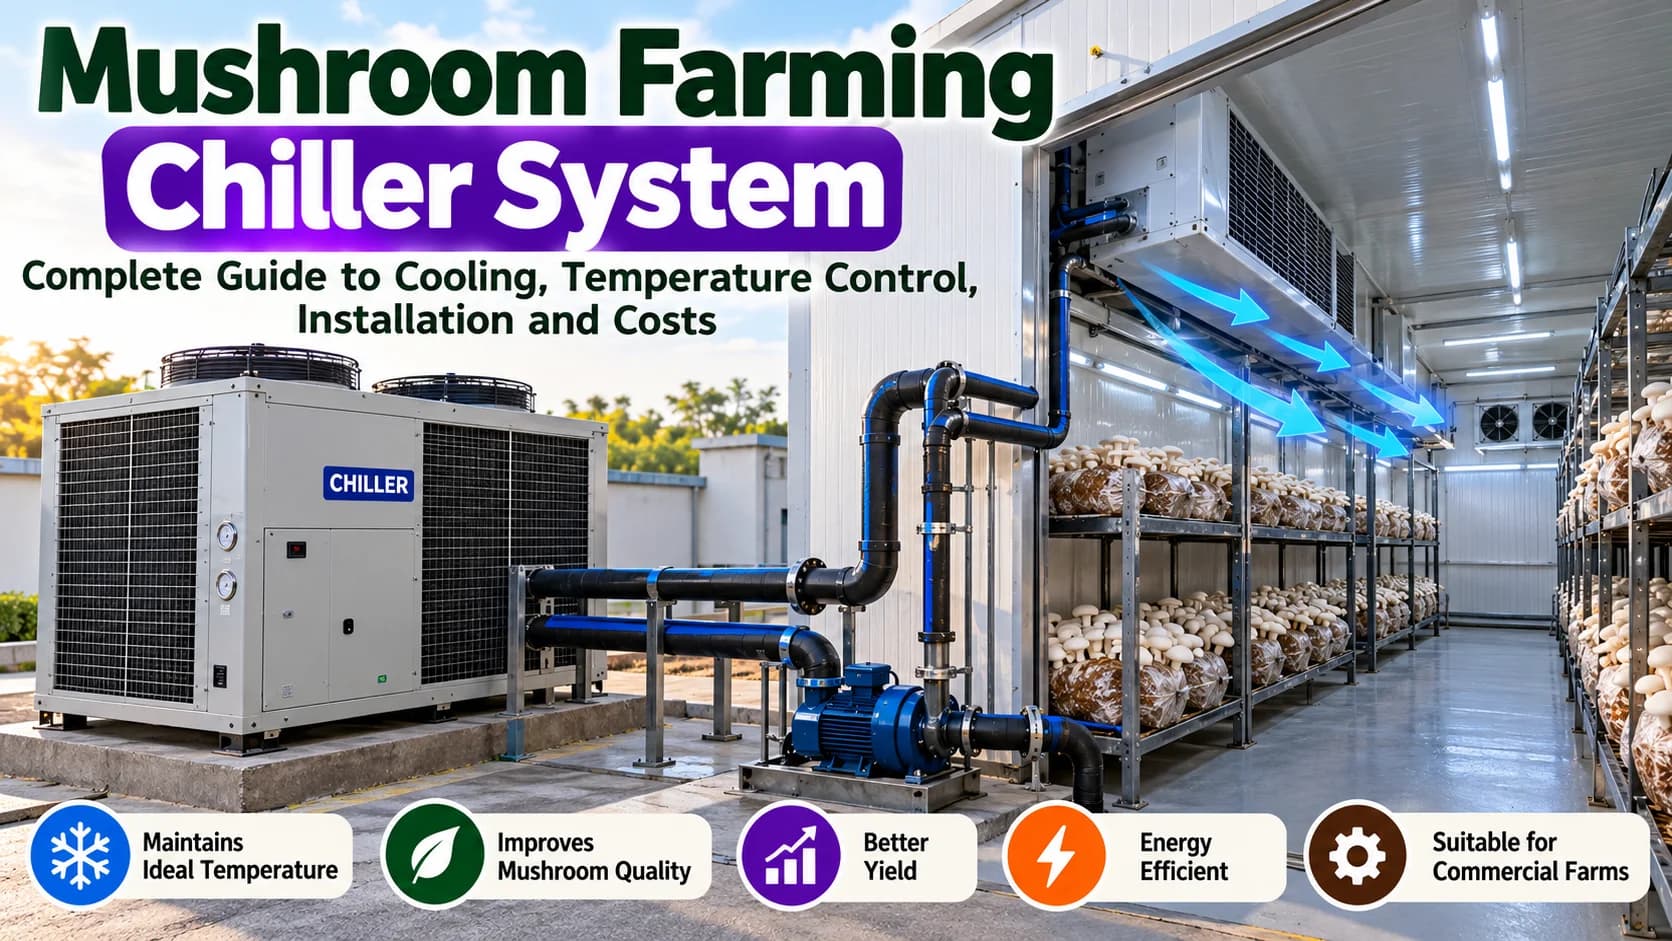
Mushroom Farming Chiller System: Complete Guide to Cooling, Temperature Control, Installation and Costs
Complete technical guide to mushroom farming chillers: air-cooled vs water-cooled, cooling load calculations, button mushroom temperature control, electricity consumption, and setup costs.
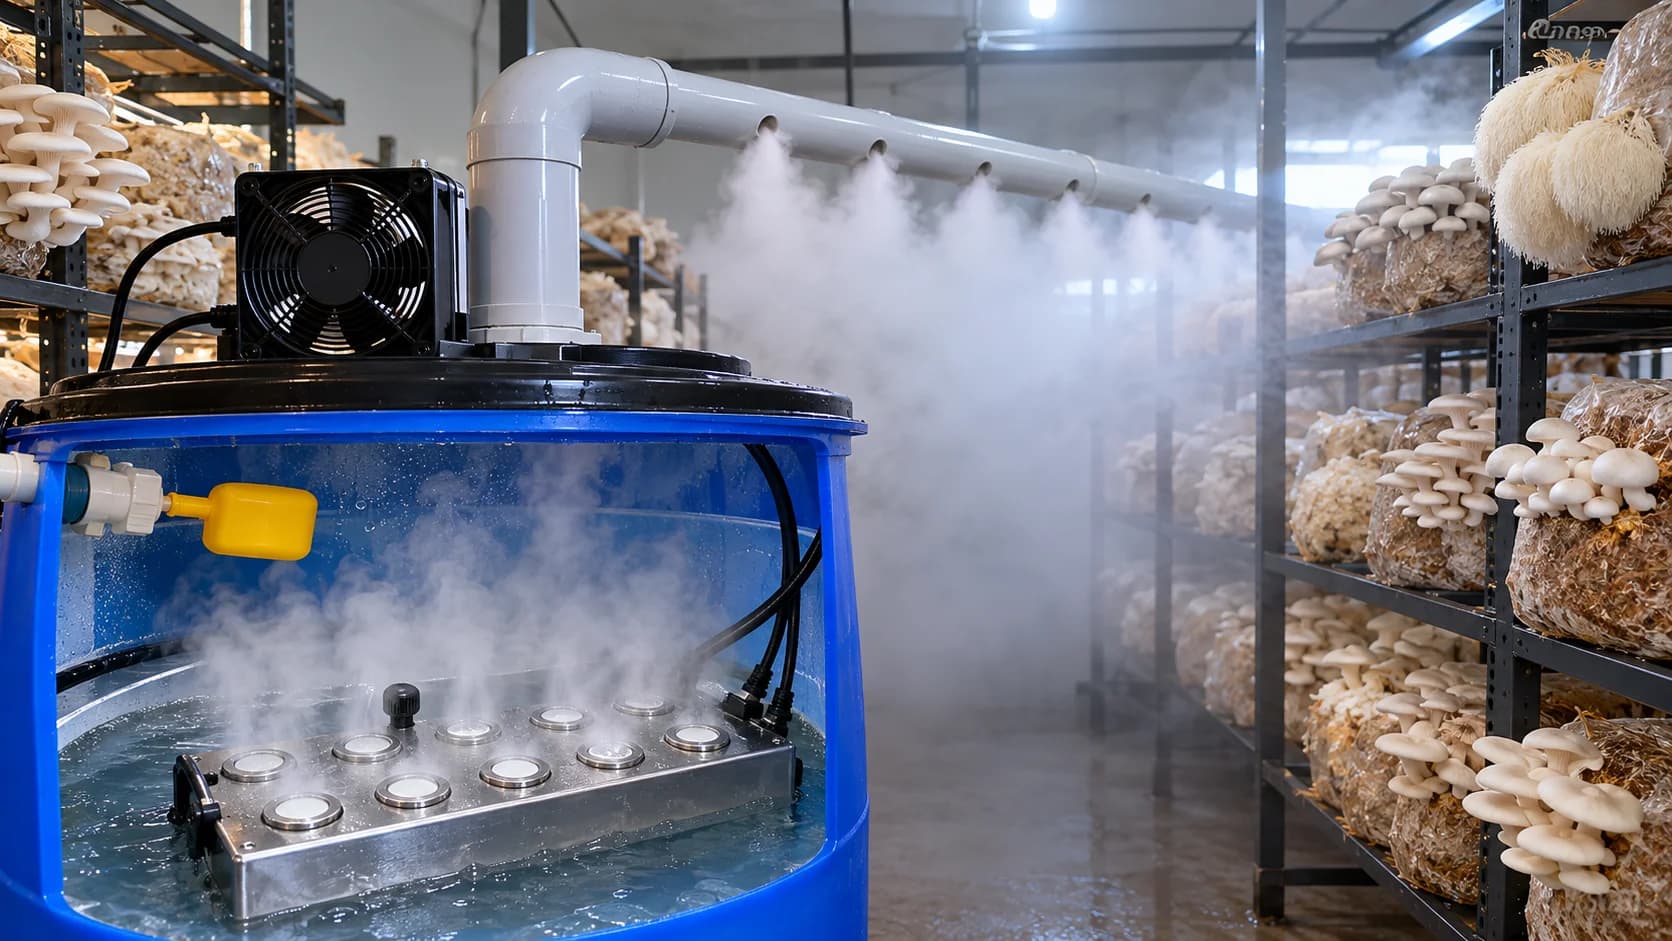
Ultrasonic Mist Maker for Mushroom Farming: How It Works, DIY Setup, Automation and Troubleshooting
Complete guide to ultrasonic mist makers for mushroom cultivation: piezoelectric ceramic disc vibration, 10-12 head mist plates, DIY drum humidifier assembly, humidity controller automation, and troubleshooting.
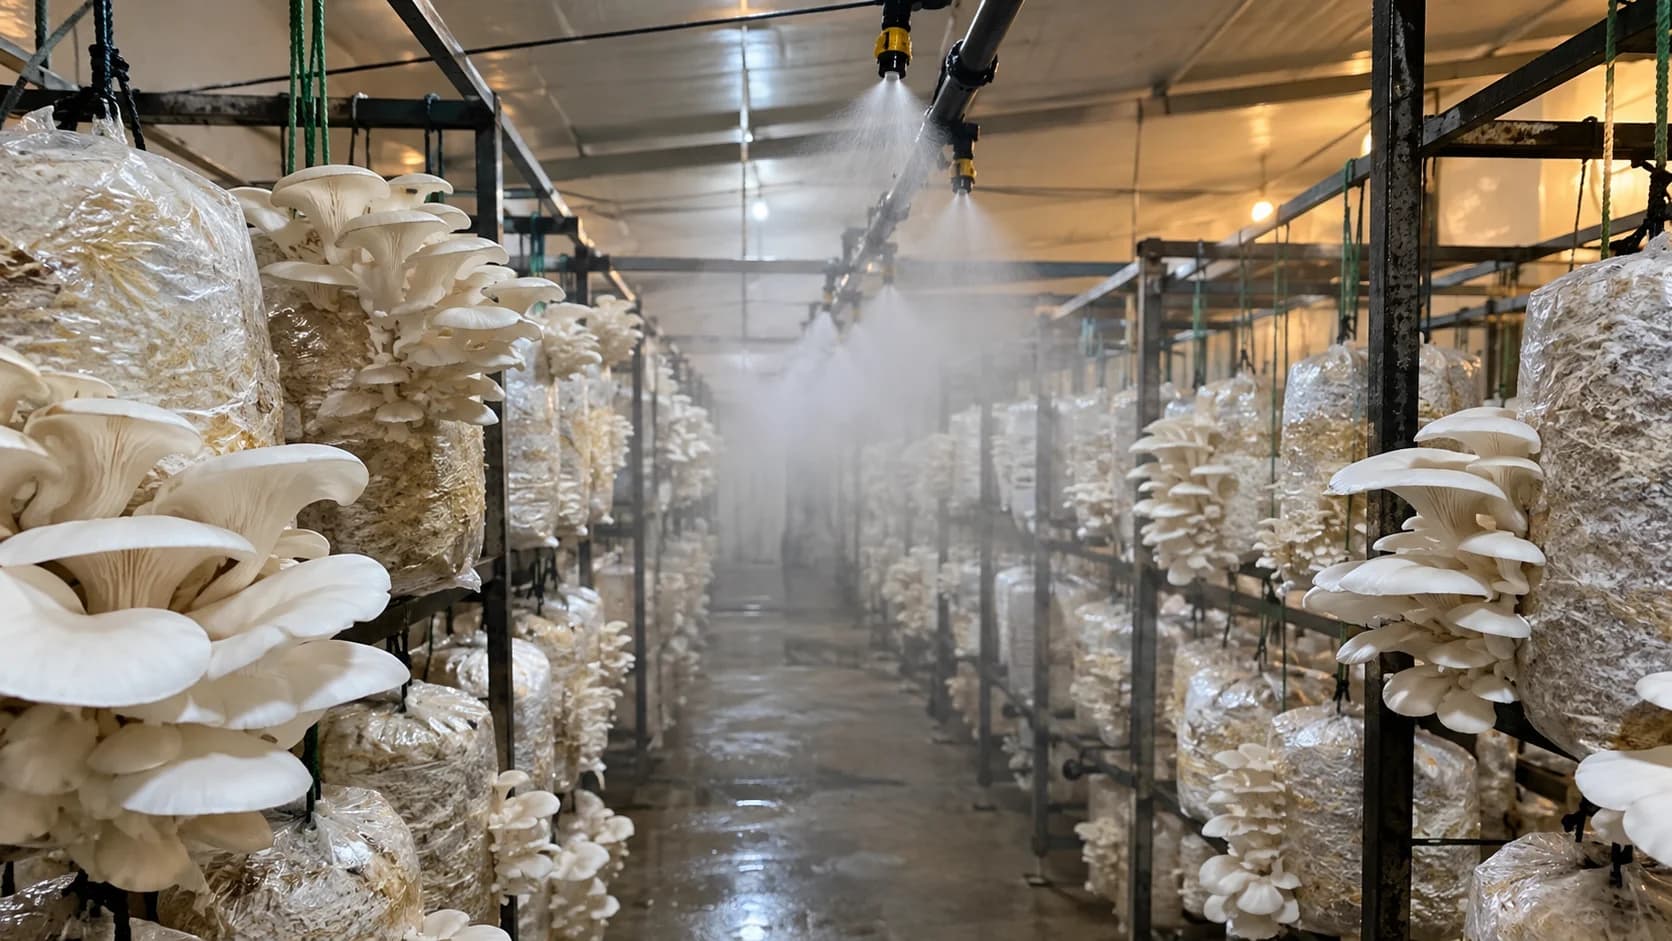
Mushroom Farming Mein Fogger System Ki Puri Jankari: Sahi Selection, Automatic Setup Aur Troubleshooting Guide
Mushroom farming mein fogger kya hai, kaise kaam karta hai aur kaunsa lagayein? Janiye 4-way nozzle, high-pressure pump, automatic humidity controller, timer setup, price aur nozzle choking thik karne ka pura tarika.
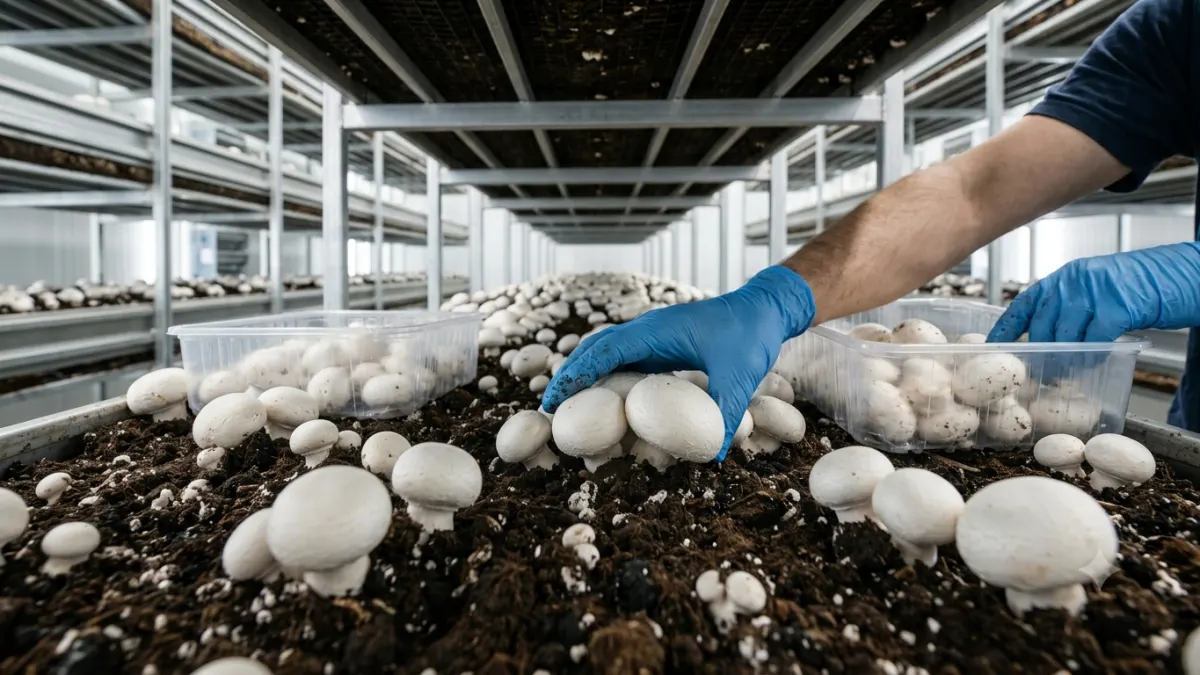
Mushroom Farming in Channasandra, Bengaluru: Small-Space Cultivation, Training, Setup Cost & Startup Planning
Start indoor mushroom farming in Channasandra, Bengaluru. Comprehensive guide to small-space growing rooms, setup cost, training, spawn supply, high-margin sales channels & DPR.