Button Mushroom Farming: From Spawn Preparation to Farm Setup
Master the step-by-step commercial protocol for Agaricus bisporus: sterile grain spawn preparation, aerobic composting, precision indoor climate control, casing soil management, and high-yield flush harvesting.
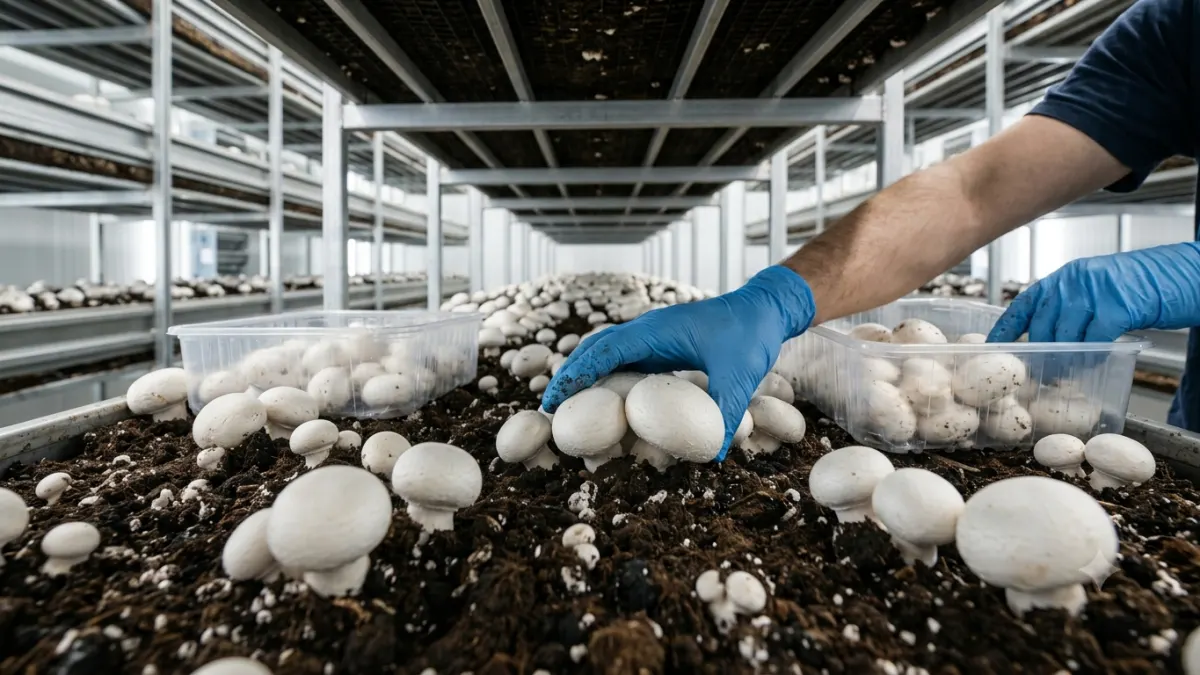
The demand for fresh, organically grown produce is surging, and button mushrooms (Agaricus bisporus) are at the forefront of this agricultural shift. Known for their dense nutritional profile and culinary versatility, button mushrooms offer a highly profitable opportunity for modern growers. Whether you are building a boutique local farm or scaling a commercial operation, mastering the controlled indoor environment is the key to consistent, high-yield harvests.
Here is the essential blueprint for establishing a successful organic button mushroom farm, starting from the microscopic level of spawn preparation up to full-scale climate management.
Phase 1: Mastering Spawn Preparation
Spawn is the foundational “seed” of your mushroom crop. High-quality, vigorous spawn dictates the health of your entire growing cycle. Preparing your own spawn ensures organic integrity and significantly reduces long-term operational costs.
- Grain Selection: Wheat, sorghum, or rye grains are the standard carriers. They must be thoroughly washed and boiled until they are soft but still intact.
- Sterilization: The boiled grains are mixed with calcium carbonate (chalk) and calcium sulfate (gypsum) to prevent clumping and adjust the pH. The mixture is packed into glass bottles or specialized spawn bags and sterilized in an autoclave at 121°C (15 psi) for 1.5 to 2 hours.
- Inoculation and Incubation: Once cooled, the sterile grains are inoculated with a pure button mushroom culture in a sterile environment (using a laminar flow hood). The bags are then incubated in a dark room at 24°C to 26°C. Within 15 to 20 days, the white mycelium will completely colonize the grain, creating your active spawn.
Phase 2: Organic Compost Formulation
Button mushrooms do not grow in standard soil; they require a highly specific, nutrient-dense compost prepared through strict fermentation.
- The Mix: A standard organic compost recipe includes wheat straw, horse manure, poultry manure, organic urea, gypsum, and wheat bran.
- The Composting Process: The ingredients are wetted and arranged in long stacks. Over 25 to 30 days, the piles are mechanically turned at regular intervals. This aerobic fermentation breaks down complex carbohydrates and kills off competitive molds and harmful nematodes.
- Pasteurization: For professional indoor setups, the compost undergoes a final steam pasteurization phase in a closed tunnel at 59°C to 60°C to ensure a perfectly clean growing medium.
Phase 3: Indoor Farm Setup & Climate Control
Button mushrooms are highly sensitive to their environment. A successful indoor farm relies on precise climate control systems.
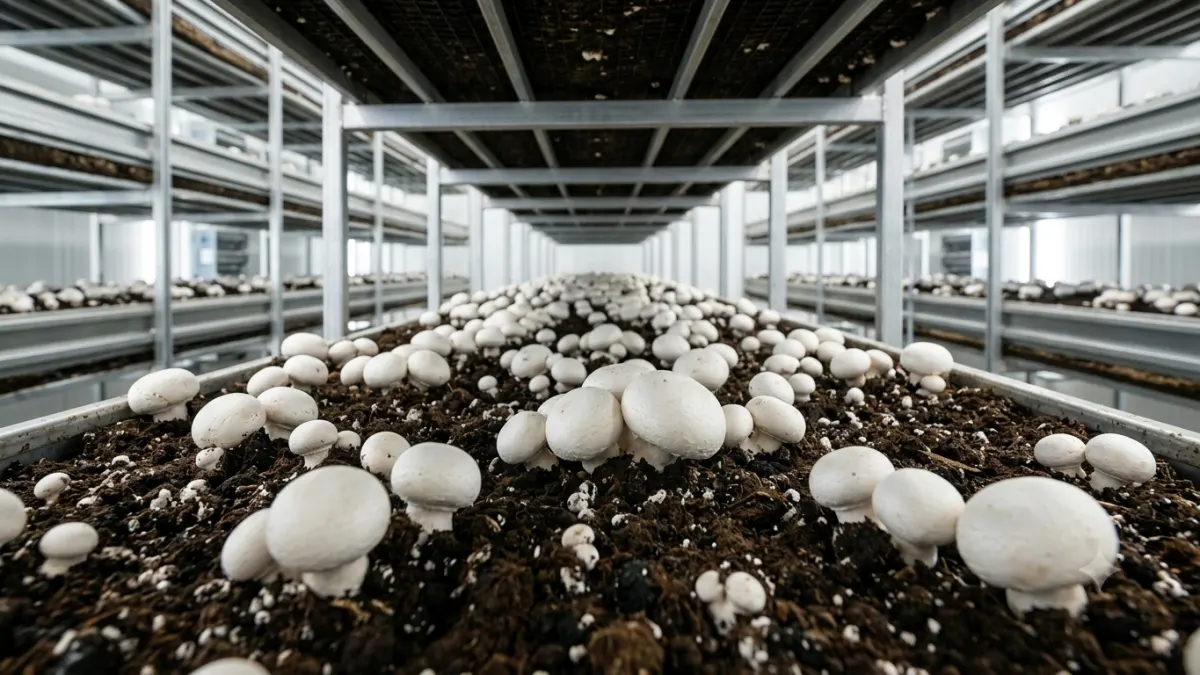
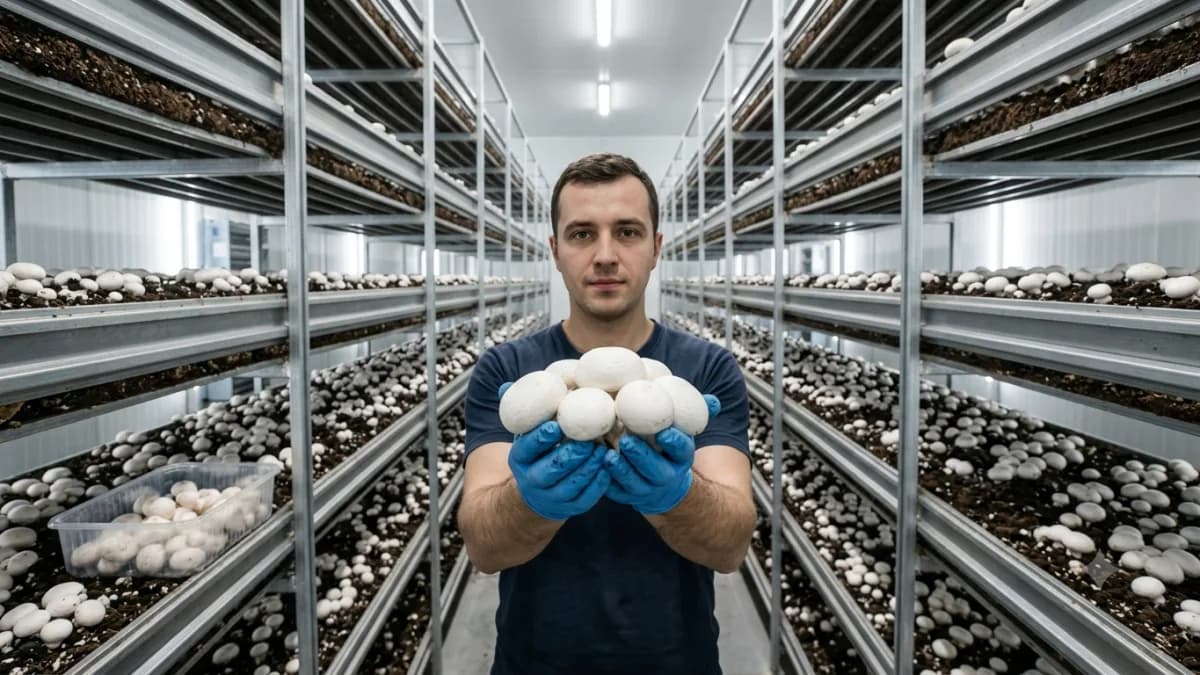
Insulated growing rooms with vertical metal or PVC shelving racks to maximize floor-to-ceiling space.
Spawn Run: 23°C–25°C, 85–90% RH.
Fruiting: 15°C–18°C with fresh air (CO2 ventilation) to trigger pinhead formation.
Button mushrooms do not require light. Rooms can remain dark, significantly reducing energy costs.
Phase 4: Casing and Harvesting
Once the mycelium has fully colonized the compost, it is covered with a 1.5 to 2-inch layer of “casing soil” (a sterilized mixture of peat moss, coir, and chalk). Casing holds moisture and provides the microclimate necessary for the mushrooms to form “pins.”
Within 15 to 20 days after casing, the first flush of white button mushrooms will be ready to harvest. With a well-maintained climate, a single batch of compost can yield three to four successive flushes.
Planning a Commercial Button Mushroom Farm?
Get comprehensive commercial consultation, climate-controlled setup guidance, government subsidy assistance, and certified lab spawn supply.